
Did you know what is JMeter?
JMeter is an open-source testing tool widely used to analyze and measure the performance of software and products. This Java-based tool supports performance and load testing, making it a valuable asset for any security testing company looking to ensure application reliability under various conditions. Initially developed for testing web applications, JMeter has since evolved to support a wide range of testing functions beyond just web-based services..
Let's look at the JMeter download and installation process:
- JMeter installation
- Download process of JMeter
- Installation process of JMeter
- Create a test plan of JMeter
JMeter Installation
- Check Java is installed or not.
- Open a command prompt
- Enter the command Java version

If Java is installed on your system, then the command will display the version of the Java installed. Otherwise, you must install Java before proceeding with the installation of JMeter.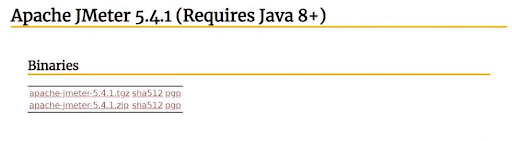
Download Process of JMeter
To download JMeter, visit the Apache JMeter website, you have to go download section you can see the binary zip file. Wait for the zip file folder to download
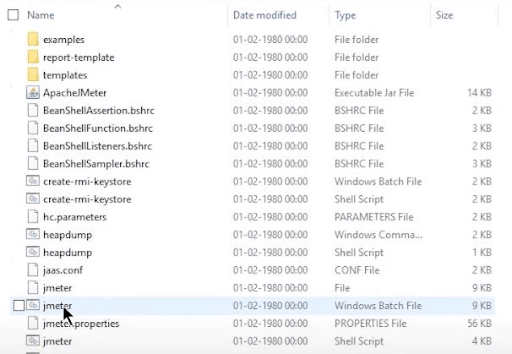
Installation process of JMeter
It will take some time to open; you have seen the download and install JMeter on your system. Now you can installed JMeter and can run tests on it.
Create a test plan for Jmeter
- The first step is creating a test plan is to
Add the Thread Group
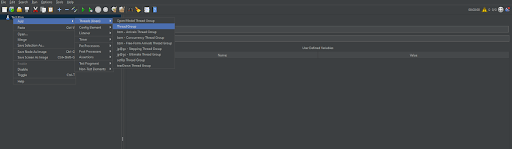
- Open a JMeter window.
- A window is separate into the two parts. On the left, there are all the added items, while on the right, there is the configuration of all the items.
- You have to rename a test plan and then save it.
- Rename it to First JMeter.
- Right click on the test plan.
- Go to Add & Thread (User)& thread Group
Now after clicking on the Thread Group, three important things will appear on the screen, add the load test:
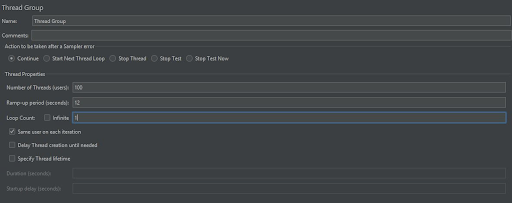
- A number of threads - This is the number of threads and users that JMeter will simulate. Let's do 100.
- Acceleration period (in seconds): This is the amount of time JMeter will pass before the thread is restarted. Let's leave it at 12.
- Run Count: This is the test run count. And that, let's set it to 1.
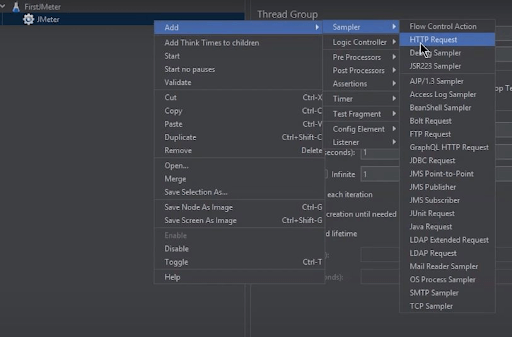
Add the HTTP Request
- Right-click on First JMeter and again add Select Sampler in the dropdown
- These are all the query types that JMeter can handle.
- Now choose the simplest HTTP request.
- Here you need to provide the address of a homepage or website.
Now rename it Home.

Here in the Server name or IP box, you need to enter the server name or IP.
Let's choose a site; for now, let's take blazedemo.com as an example.
- Copy the URL
- Return to the JMeter window and paste it into the Server name box.
- Do not provide HTTP or HTTPS, as these are the protocols that will appear in another box.
- Then leave a slash in the path dialog.They will be retrieved automatically in the event of an HTTP request
Now once the HTTP test is ready, the next step is to run the test on it. Run the test:
Add the Listeners:
To determine the results, you have to add other test items.
- Right-click on the first JMeter
- Go to Listener Options
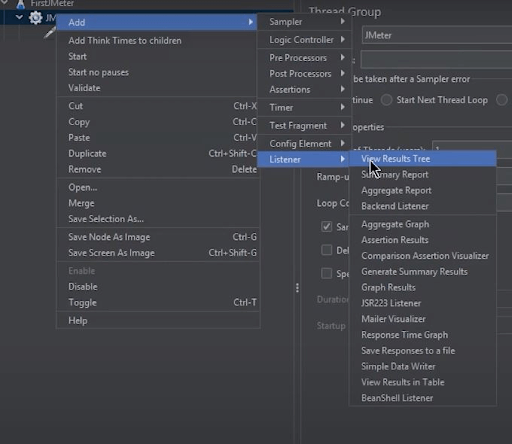
In the box that appears, there are different types of reports provided by JMeter,
Now you have to select two of these:
- Show results in table
- Show results tree
- Run test
- Save test now and run it
- To run a test, click the green button
- Go now to test results
- After viewing the results, go to the table
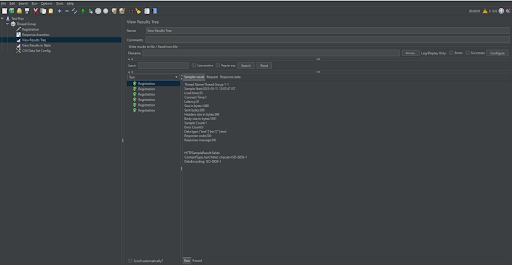
You may see a green status, which means the test passed. Tag Name: First, you can see JMeter and sample time.
Then you have to check the view results tree
Green status or pass status can also be seen here. They will be tested against the number of users, startup period, and a number of loops configured in the first step. Performance results can be obtained after execution.
About Author
 Ajay Makwana started his career in June 2019. He started his career as a trainee and is now a QA Executive in The One Technologies - a Software Testing Company.
He learned task prioritization when he was a junior QA, which helped me in his career. In the future, he wants to develop expertise in automation, database, and performance testing. In his free time, he loves long drives and watching cricket.