
“Gitlab pipelines are a great way to automate certain repetitive tasks.”
Let us first understand a few jargons – especially Gitlab and pipelines!
Table of Contents
- What is GitLab?
- What are Pipelines?
- How to Automate the Tests Via GitLab Pipeline?
- Top 7 Reasons to Automate Tests:
- Pre-requisites to Start Automating Tests Over GitLab
- Steps to Follow While Automating Test
- Conclusion
What is GitLab?
GitLab is an open-source code repository and collaborative software development platform for large DevOps and DevSecOps projects. GitLab offers a location for online code storage and capabilities for issue tracking, continuous Integration, and Continuous Delivery (ry (CI/CD). The repository enables hosting different development chains and versions and allows users to inspect previous code and roll back to it in the event of unforeseen problems.
What are Pipelines?
Pipeline is a feature – it is basically a collection of various jobs. So, a bunch of jobs – running in sequence – is collectively known as a pipeline.
How to Automate the Tests Via GitLab Pipeline?
The tests created using various automation tools on a local machine/desktop/laptop can be transferred over to a repository in a GitLab account. To make this code run automatically, a few setups are required. First is to have ‘runners’ active, and the other – a yml file.
The Need to Automate Tests
The question is – if we have the test cases running properly on our individual machines, then why do we need to get them run automatically on the web?
Top 7 Reasons to Automate Tests:
Here are some of the best reasons to opt for automation testing services:
- Code gets hosted in a central location.
- This serves as a backup in case anything happens to code in an individual’s machine.
- This code is accessible to other team members (with due permission).
- Downloading/cloning a code is easy.
- Version control is taken care of.
- Manual intervention is not required for repetitive runs/executions (called ‘build’ in GitLab).
- This is important to ultimately achieve a CI/CD system.
Pre-requisites to Start Automating Tests Over GitLab
- GitLab account – A 30-day trial version is available
- Git SCN software installed on the local machine
- Eclipse IDE
- Tests are written in WebDriver+TestNG+Java
Retrieving data. Wait a few seconds and try to cut or copy again.
Steps to Follow While Automating Test
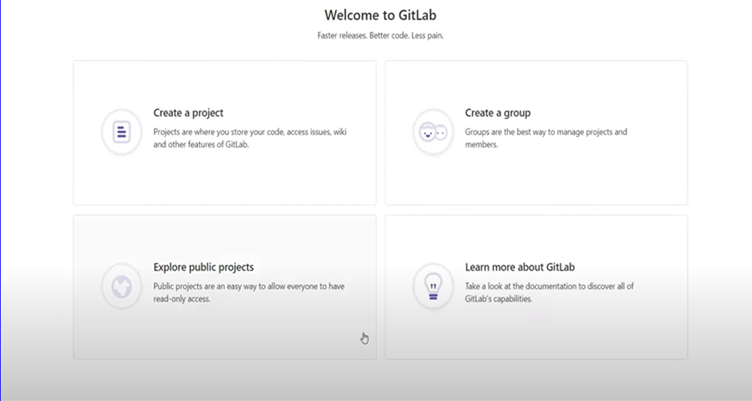
- Create a free GitLab account (30-day free trial)
A GitLab account creation can start by typing so in Google. Once the details are filled, a newly created account looks as below:
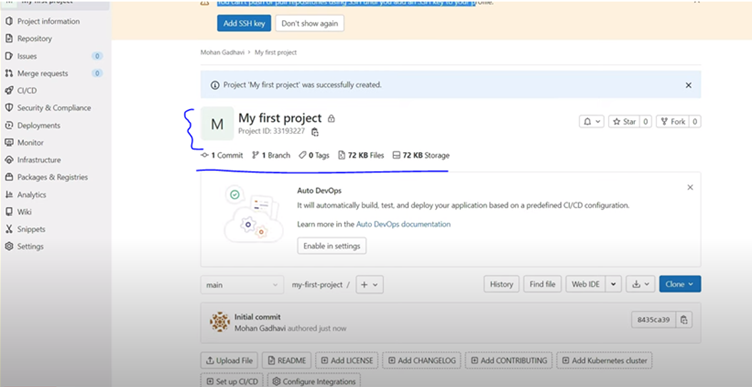
- Create a project
- Create a GitLab runner
- Search ‘GitLab runner’ on Google
- Open the first link
- Go to ‘Use self-managed runners’
- Click on the install hyperlink
- Under Binaries, click on ‘Install on Windows’
- Save as the folder specified in the steps, and rename it
- Open the command prompt from the runner location (in administrator mode)
- Run command: <runnerName> install àto install runner

- Run command : <runnerName> registeràto register runner
[Enter all details as asked; some details can be extracted from the GitLab account.]

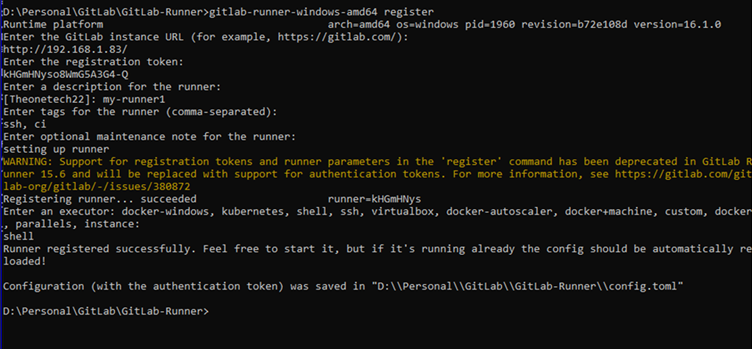
- Run the command: <runnerName> startàto start runner instance

- Check the runner’s presence in the repository:

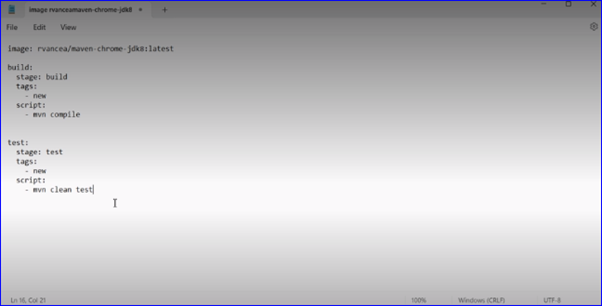
- Create a yml file in the project directory –
- A yml file can be created using Notepad and providing the extension as .yml
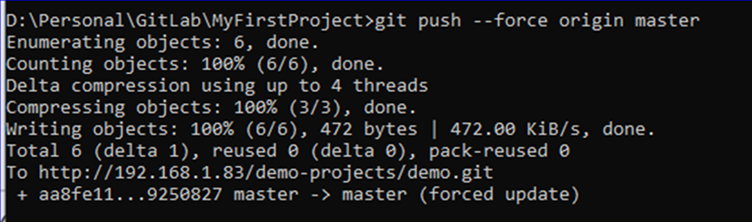
- Push the code to the repository
- Execute the pipeline
- Go to ‘Build’ in the left sidebar of the repository in GitLab
- Select Pipeline
- Select the branch (where code is present)
- Click on ‘Run Pipeline’
Results like successful build should appear:

- Schedule a pipeline to run automatically at said time
- Go to ‘Build’ in the left sidebar of the project in GitLab
- Click on ‘Pipelines Schedules’
- Set up the cron job
The pipeline will execute at the defined time.
Conclusion
With that, we close the use case. We added a pipeline with several jobs to a Gitlab repository. I hope you find this post useful and will include Gitlab pipelines in your next projects. To know more, the Gitlab documentation is a great place to explore further options and features of Gitlab CI/CD tools.
Stay tuned to PixelQA Blog to explore juicy technical insights. Get a step-by-step guide, how-to technical articles, and informative technology updates. Connect with the expert software testing company to get your project built with experienced minds.
About Author
 Apoorva Mishra began her journey in 2013, She is working as a Lead-QA at PixelQA.
From a novice in the IT sector to being a team lead, she has come a long way. Her professional goal is to excel in management, leadership, and team building.